Qualifico supports video and voice calls with online prospects using Zoom or Microsoft Teams. This...
Prerequisites:
- Dynamics 365 environment
- Azure Active Directory
In this Guide:
- Creating App User
- Connect your App User with Qualifico Dynamics 365 Integration
Creating App User
Setting up the Azure App Registration
Step 1:
Navigate to your Azure Active Director and create a new Application Registration:
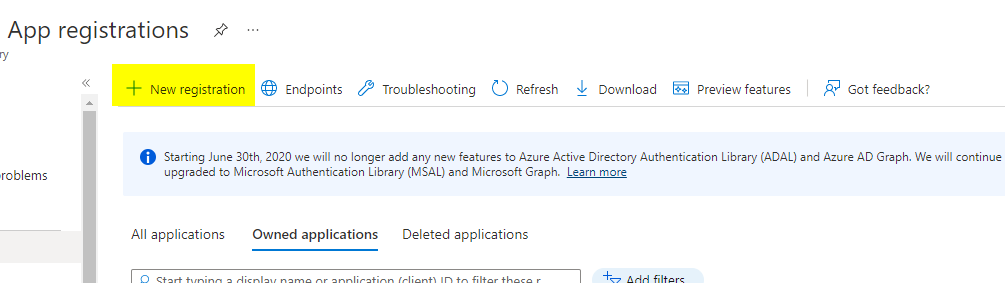
Set the Name – this will become the name of the user in Dynamics 365.
Leave the supported account type as Single tenant (the default value).

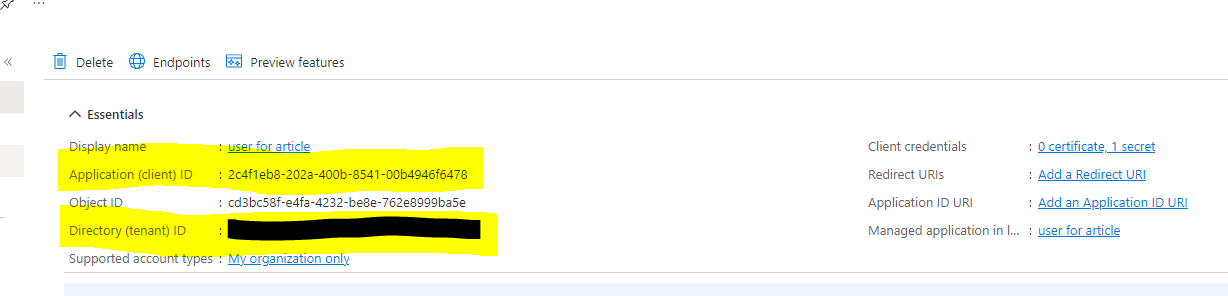
Step 2:
Copy the Application (client) ID of the new App registration and the Directory (tenant) ID. These values will be used later as the app Id and tenant Id in the qualifico integration record.
Step 3:
Navigate to Certificates & secretes and click New client secret, under Client secrets.
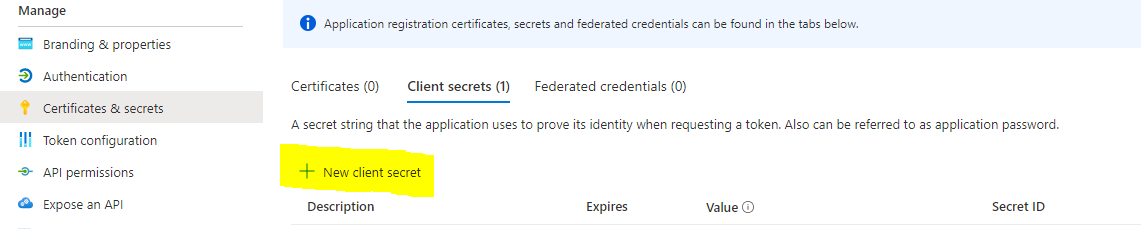
Select the expiry date for the client secret. A new secret will be generated after the expiry date, it is worth setting a reminder for this, to avoid any service interruptions.
Step 4:
Copy the secret Value for later use in the qualifico integration record. You will have only one chance to copy the secret so be sure to save it somewhere safe.

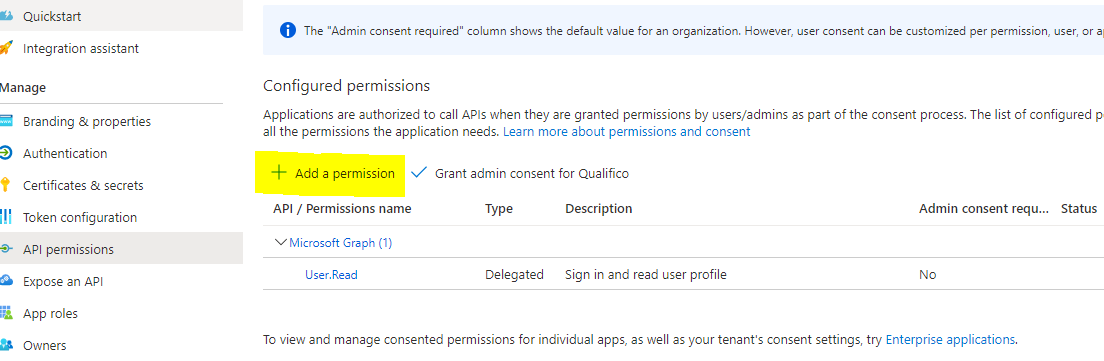
Step 5:
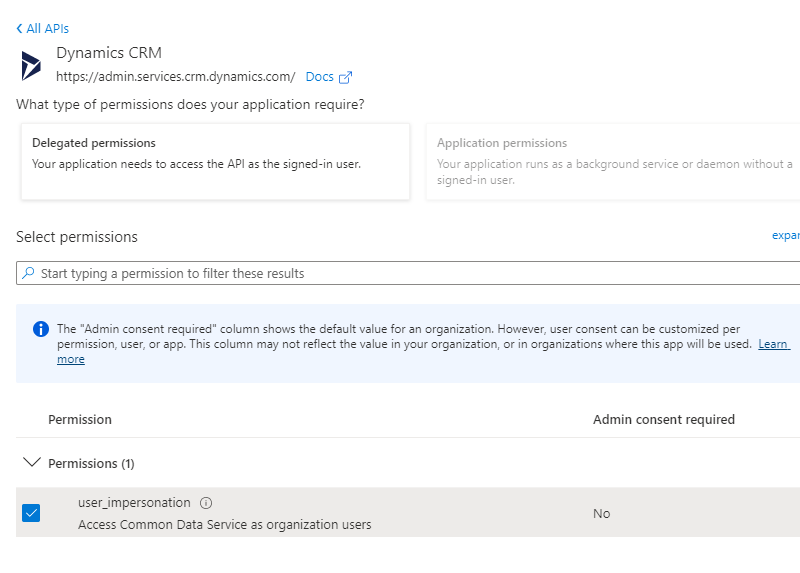
Navigate to API Permissions and select Add a permission:
From the Request API permissions screen, under Microsoft APIs, select Dynamics CRM.
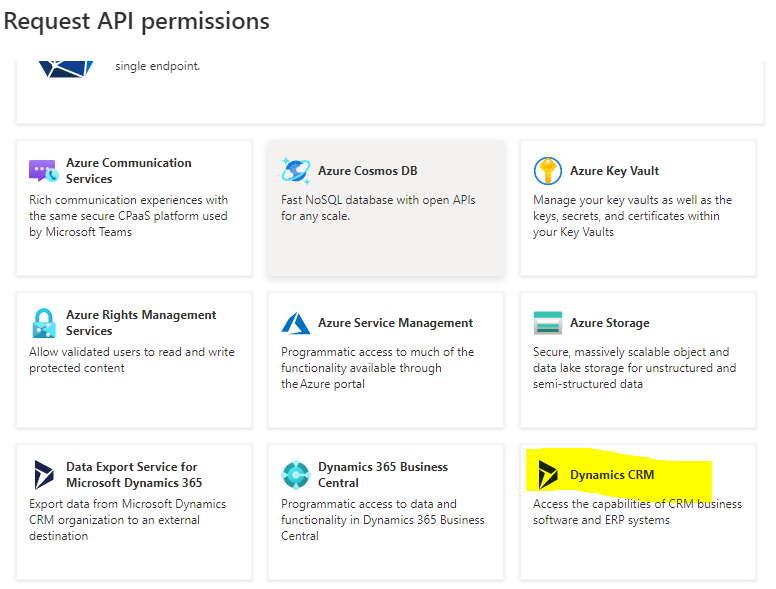
Under Delegated permissions, select user_impersonation, and then add permissions.
Adding The Application User to Dynamics 365
Step 6:
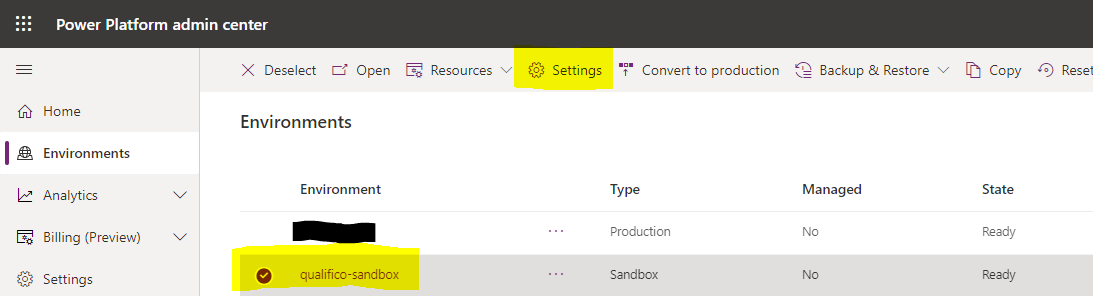
Open the Power Platform Admin Center as a System Administrator, and select your Dynamics 365 Environment, then select Settings.
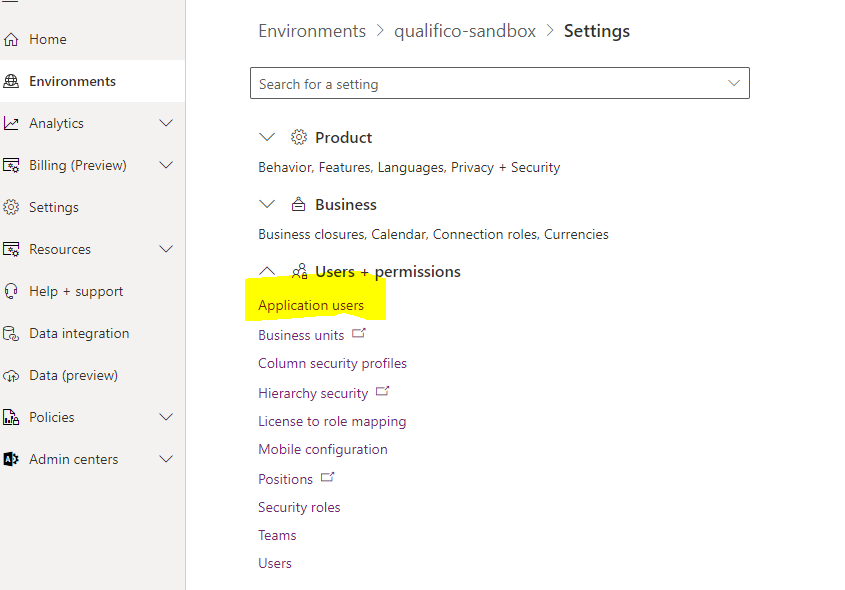
Navigate to Application users, under Users + Permissions.
Step 7:
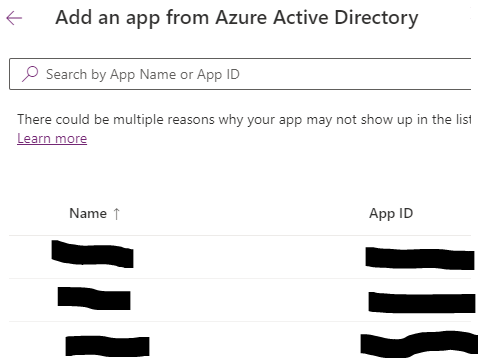
Click New app user from the list of application users.

From the "Create a new app user" screen, click Add an app and select the App you created earlier.
Select the Business unit to add the app user to (root business unit).
Select the Security roles to assign to the user once created. For Qualifico, you will need to add the System Administrator security role.
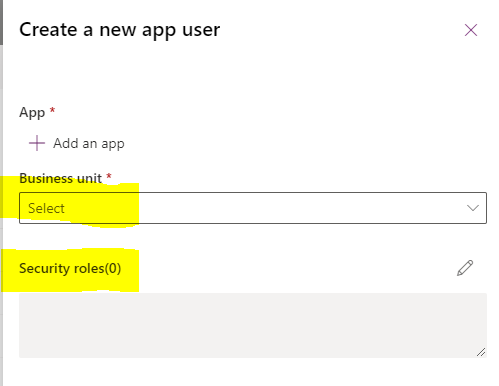
Click Create, and verify the user has been added to your environment. You will also notice the App ID is the same Application (client) ID copied in step 2.
Creating Integration
Step 8:
In Qualifico, navigate to Integrations and click Add. Under the CRM section click on Dynamics 365.
You need to enter the app id value that was created on step 2 under the App Id, and to enter the app secret value that was created on step 4 under the App Secret.

The Tenant Id value is taken from your App Registration (The Directory (tenant) ID value that we copied in step 2).
The Environment Url is your environment link